Read Me First!
This set-up is one that I have built and tweaked through 20 years of having my own beetle colony. It is something that I like because it keeps a consistent environment for the bugs which increases productivity and does so with an automatic low stress system. This arrangement also is fit for the outdoors and handled a winter of -40 degree Celsius in Northwestern Ontario as well as the winter road trip across Ontario. If you have any different ways to accomplish this bug home, feel free to share and I would love to add other options to this page. I am constantly trying new things to try and make this hobby quicker, easier and more effective so all bug enthusiasts or skull friends reach out if you like!

Newest bug home in the making!
Look For An Old Freezer!
You want to lean towards something that has insulation as you are most likely going to heat or cool depending on your environment and season where you live. Yes you can use an old fish tank (most people start here) but understand that these little guys smell terrible to most people and you need a way to control their environment. Tanks make it more difficult to make the enclosure air tight for these smelly critters and walls are rigid for options without an nice sealing lid. If you are set on having long term bugs, cut the trial period and hassle and commit to a set up that works. I also took the freezer compressor out of the back to make the freezer lighter for working on it and moving it around. If you do the electricals correctly you can set it up so that the light on the front comes on when it is heating. Just an added perk. The interior sides of the freezer are also steel with no seems that the bugs can climb up which is also a great added bonus.

5 inch Duct Fan
Air Flow/Moisture Control

Charcoal Air Filter
So I am also a volunteer fire fighter on the side and in this training, you understand the purpose of air flow very much. I have an output hold much bigger than the input hole and a fan pulling air out through a 5 inch duct hole. The input air is an inch and a half water pipe. This creates a negative pressure so that if there are any tiny small air leaks around the seal of the door, it sucks air in those holes and doesn’t push it out into your living or outdoor spaces. I purchase a hole saw that was 5inches wide to cut a nice hole for the air duct to slide right into to seal nicely. Then an inch and a half hole saw to cut the water pipe in for the input air. On the inside of the freezer I screened and caulked the seal to try my best to stop anything from entering the enclosure that is not invited. Lots of ways to do this whole section but I found this worked well. Inline duct fan is the first thing from the freezer to connect to the exhaust system of choice.

Temperature Control
I use a product bought off of amazon and it is a automated thermostat with plugs from a company called Inkbird. You can set high temp so that a plug turns on and you can set the low temp so a plug turns on. This way I can have the heat lamps plugged in to heat when needed and an air conditioner in the garage to start when it needs to be cooled to maintain a constant working temp. For my heat, I use red reptile heat lamps so that the bugs work better in dark nocturnal like environments.


Moisture Control
Much like the Inkbird temp control, this company has the same item for humidity. Which means, you can set the high temp. to turn on a inline duct fan to start to take moisture away and a low mark to turn on a humidifier if needed in a dry climate. I use this in the garage in the winter when I am using some small specimens that dry quickly.

Bug Food
I am fortunate enough to always have skulls and skeletons to move through the bugs. This is something that not all people think about. These bugs need to eat all of the time. I put anything I feed them onto trays of steel screen with folded up edges. it is amazing how much can go walking away and be lost without the folded walls. When the bugs really get eating, lighter bones can almost crowd surf around on the movement. When done, I put it on the freezer riser (where the compressor imprint is on the right of my freezer) so the bugs leave it alone. The bugs have some time to come off the bones to move to something more fleshy that I would have placed in there afterwards. After a few days it is picked up from there and moved out or onto a rack that came with the freezers in order to keep bigger projects together and organized.
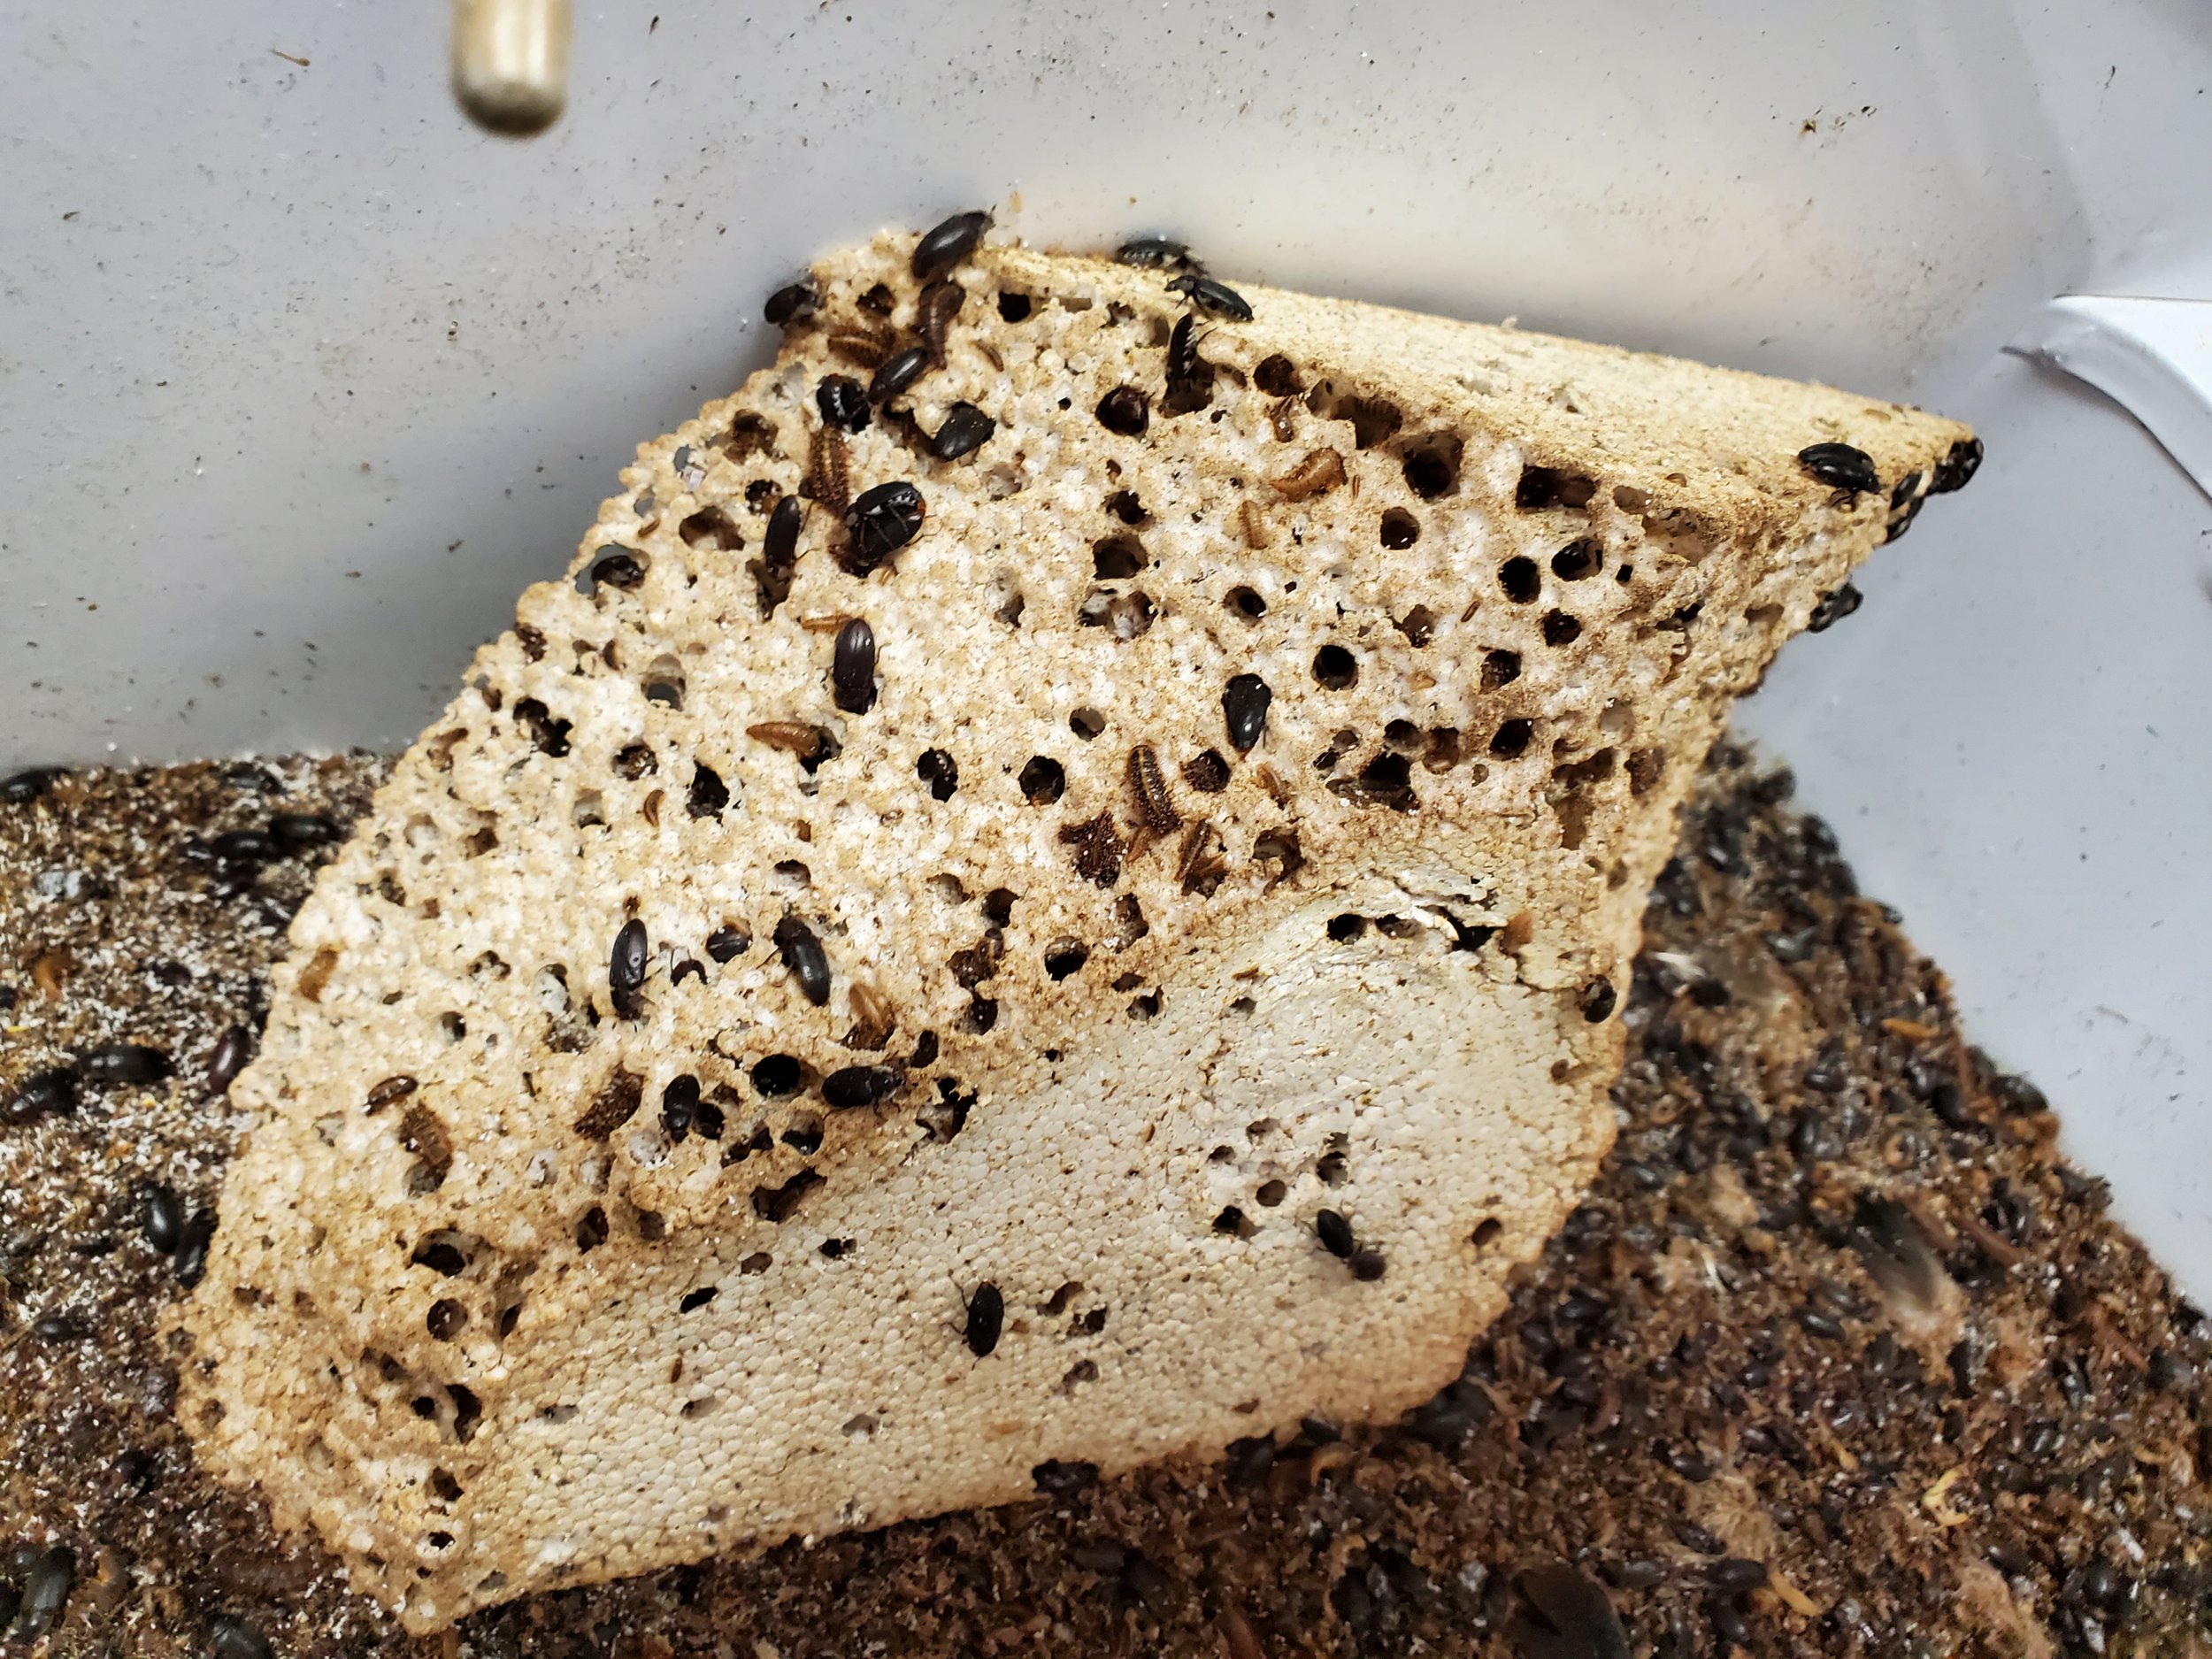
Bug Living
Most of the productivity/eating is during the larvae phase of the beetle’s life. When they are ready to become a beetle, they either crawl somewhere in the ground cover or they use styrofoam to go into to do this as well. I have a few chunks in there for them to crawl through and do their thing. Some people mist their bugs and give water and things like this. I have experimented with this but didn’t see much of a difference with population growth or productivity especially with the humidity already controlled. Eggs are laid on specimens that provide food. This is another reason why the bones aren’t taken out too quickly after being finished. Giving time for the minnies to crawl off and go to other food sources for sustenance.

House Keeping or Miscellaneous
It sounds like a little bit much, however putting a small latch on your bug home adds one more step for someone to get into them. Without it, I found too many people popping around were opening it up and rooting through things. This let in unwanted flies from time to time or other bugs. It also ensures a nice compressed seal on the entirety of the lid for the negative pressure system and temp control to stay constant.